I saw this really cute idea for a book wreath here. She got the idea from another super cute site, and when I was done getting lost in cyberspace, I knew I needed additional firewood decorations for my house. The process could not be much easier, AND it can't get a whole lot cheaper. I'm thinking of quitting my job and mass producing these. It would be really cute with an initial inside as well, or multiple colored paper. I'll work on that soon.
I bought a wreath for a dollar at the Dollar Tree, and a book in the Clearance Section of Halfprice books for 80 cents. My criteria was that the book be as fat as possible for as cheap as possible with few G rated content. I didn't even use fifty pages of the book to put this wreath together.
I used a paper slicer to slice the 6 inch pages into 1 inch strips.
I added a really small drop from the glue gun to create a ton of loops.
I then start gluing these to the front of the wreath.
The glue gun bit me a few times, but I really think this is the best way (as opposed to pins). It let me completely manipulate the spacing.
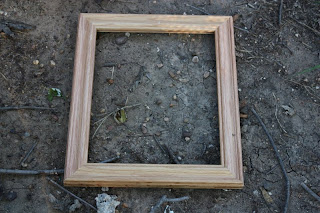
I also grabbed a 2 dollar frame from the thrift store.
I used a dollar can of spray paint to paint it black as a backdrop for my wreath. I've got the bow, and now I just need to find the perfect location. I'm off to print off my recycled book wreath business cards now. Or not.


I've seen these all over..I've even made one myself & its one of my faves but I have'nt seen this version yet & I love it!
ReplyDeleteLooks great!
Really great wreath! Love how you used the frame.
ReplyDeleteA wonderful gift for a book lover. I love making wreaths. The idea to use a book to make one never entered my mind. Bookmarking this for future use. Thanks for sharing!
ReplyDeleteHow pretty Christy! I've been book wreaths before but never with paper loops. I really like how that looks!
ReplyDeleteLove this idea-definetly going to make one!
ReplyDeleteSo cute! I am leaving school as soon as you and my sister finish your meeting:) They we are off to make wreaths...I'll open a business with you! I'm doing the burlap first, can't wait to try this one too!!!
ReplyDeletesuch a cute idea...and so inexpensive...
ReplyDelete