Baseball Bridal Shower

Friday, May 22, 2015 9 comments
 Recently my friend Sonia and I hosted a shower for our friend, Mary's daughter.  She met her fiance at a Ranger's game...and it's been a huge part of their relationship.  It just so happened to fall on Opening Week, and the bridal party had planned the bachelorette party for the next day....at the Ranger's game.  I'll pretend that timing was all part of the deal.
I found some adorable ticket invites online and had my friend Kelly help me make it happen.  
 I found a 'vintage style' cracker jack tin on ebay and purchased that to put some flowers in for the shower.
 I put together some baseballs to be signed by the guest party with advice...or rather, 'the game plan' for a happy marriage.
 I found some bottled cokes (at Costco) and tied on one of my current favorite things-paper straws.
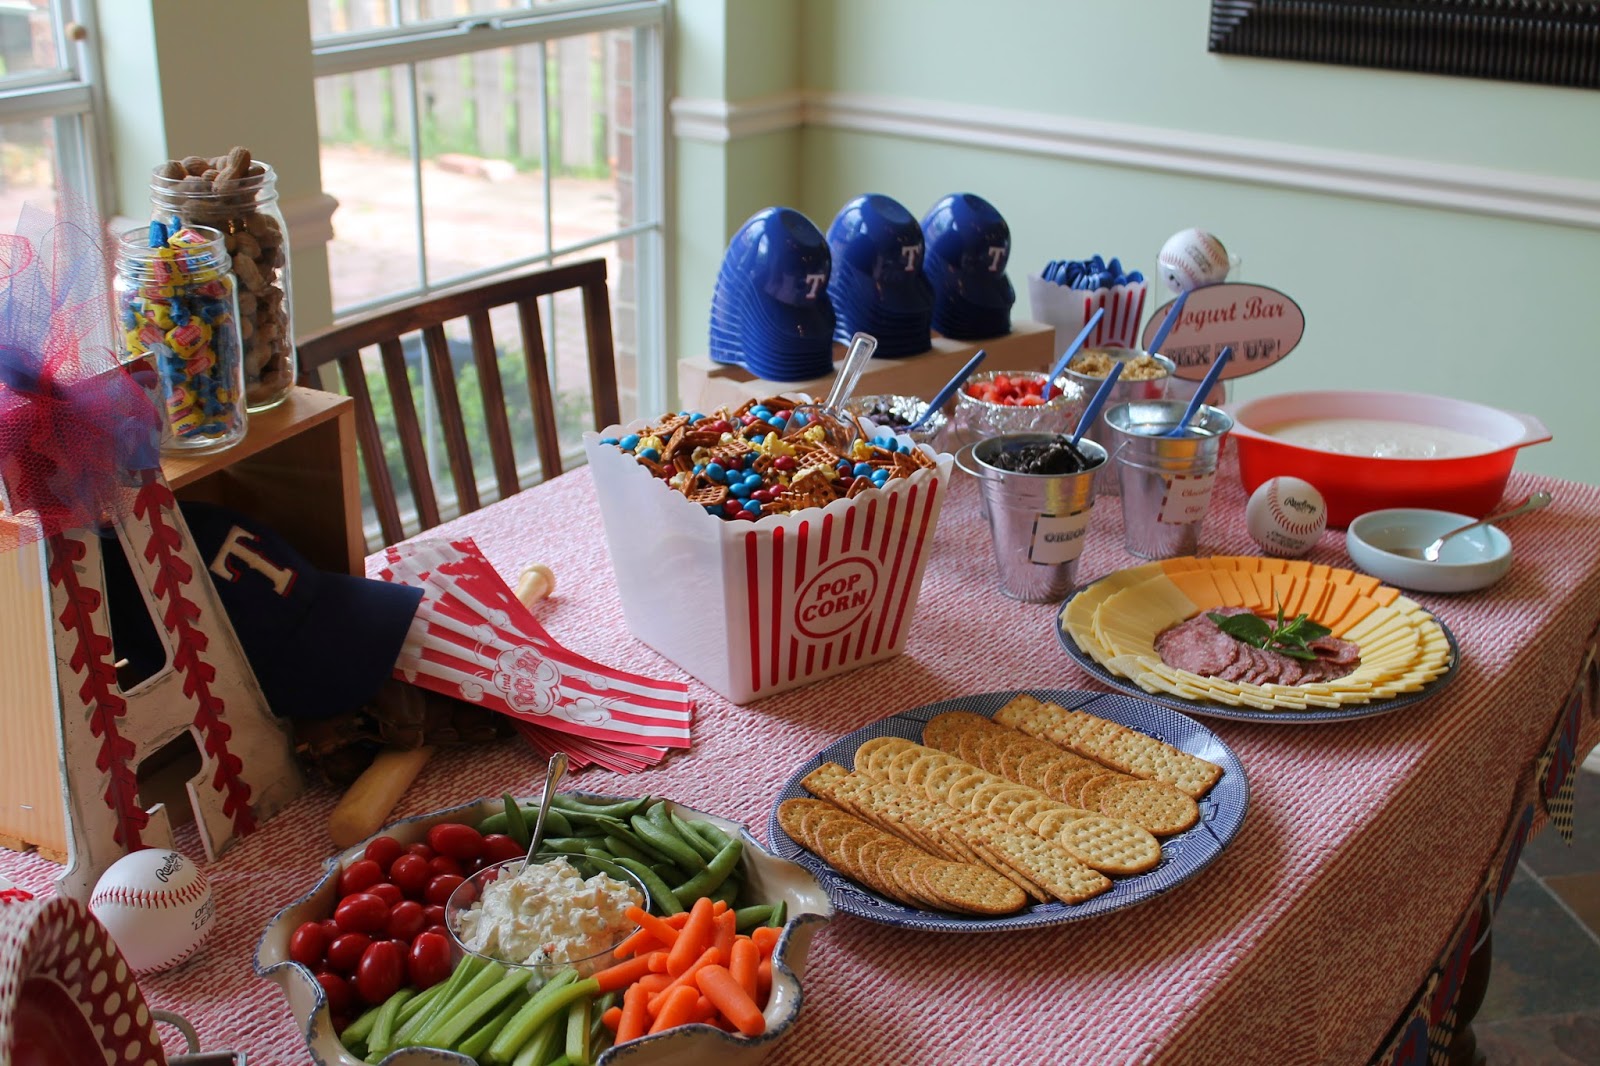
 I have a collection of random glass containers from other events I filled with baseballs, peanuts, Babe Ruths, gum etc.  I borrowed all the baseballs from my only mail coworker....bet he didn't see that coming, but...he used to play and had a ton in his garage.
 Laura is not a fan of ice cream or cupcakes, so....we went with cookies and a yogurt bar for dessert.
 We also threw in some wine for those that aren't into cokes and water.
 I made baseball and glove shaped sugar cookies.
 I also found these mini helmets on the magical world of Amazon.  This was for the yogurt.
 I also found vintage style cracker jacks online and added little tags....b/c everything is better with raffia and bling.
 My friend Mary makes quilts for all her children, this was one of her gifts to the bride and groom.
 The bridesmaids also passed out shirts they were going to be using the next day at the bachelorette party-My last swing before the ring.  How cute is that?  Laura got white, all the bridesmaids got red.

Sweet and Sour Chicken on the Grill

Thursday, May 21, 2015 1 comment
Last summer I went through a grilling season and this was one of the recipes I tried out and loved.  The original recipe is from adashofsanity and it was easy to put together, and tasty to consumer-which are my two criteria.  As a side note, it's also a pretty healthy recipe.  If your standards also go along these lines, here is the recipe.
Sweet and Sour Chicken
Ingredients: 2 lbs of chicken tenders or chicken cut up into tender size, 1 T rice vinegar, 2 T soy sauce, 3/4 c. sugar, 1/4 c.+2 T ketchup 1/2 c. apple cider vinegar, 1/2 t. garlic powder, 1 bell pepper (chopped into large chunks), 1 purple onion (chopped into large chunks), 2 c. brown rice (cooked and prepped by package directions), grill skewers (metal or bamboo)
Instructions:  Marinate your chicken by mixing all the ingredients except for the rice.  Cut the chicken into large chunks and leave it in a bowl in the fridge for at least an hour or overnight.
Soak bamboo skewers for 30 minutes.  Thread chicken, onion, and green peppers by alternating to fill the skewers.  Save marinate.
Place chicken on the grill over medium heat.  Cover and cook for 3 minutes.  Turn and baste with marinate.  Cook 3 more minutes.  Check the center and see if they are finished.  The chicken usually takes about 10 minutes to cook.

Lemon Glazed Cookies

Tuesday, May 19, 2015 No comments
I made these for a lemon loving friend a few months ago when I dropped by to see her new baby.  They were really easy to put together and had a soft texture I really dug.  All you need is....
Lemon Glazed Cookies
Ingredients for Cookies:  Lemon Cake Mix, 2 eggs, 1/3 c. vegetable oil, 1/2 c. powdered sugar (set aside).
Ingredients for the Glaze:  1 1/2 T water, 3/4 c powdered sugar
Instructions for Cookies:  Mix the dry cake mix, 2 eggs, and 1/3 c. vegetable oil.  Grease a cookie sheet.  Roll the dough into 1 inch balls, flatted slightly and roll the top of the cookie in your powdered sugar.  Bake for 6 minutes at 350 degrees.  Cool.  
Instructions for Glaze:  Mix the water and powdered sugar (if it's too runny, add up to another 1/4 c. powdered sugar).  Drizzle over cooled cookies with a fork.  

Snicker Stuffed Cookies

Monday, May 18, 2015 No comments
I recently arranged lunch orders for my school.  Each one came with a cookie dessert and we were all dealt a different cookie hand, but some of the gals got cookies with candy pieces inside.  They were the fan favorite.
 I made these a million years ago, and there are a ton of ways to make them from scratch, but...I like the cheater way.
 I bought a thing of premade cookie dough and a row of fun size snickers.  I cut them into 1/4ths (about one inch pieces) and then use just enough dough to cover them on top and bottom.
 I set them on trays and backed them as the package instructed.
The chocolate melts and flattens and once it cools you've added a nutty/caramel center of goodness to an already delicious cookie.  It's always fun to find a prize inside!

Mini Box Album

Friday, May 15, 2015 No comments
 
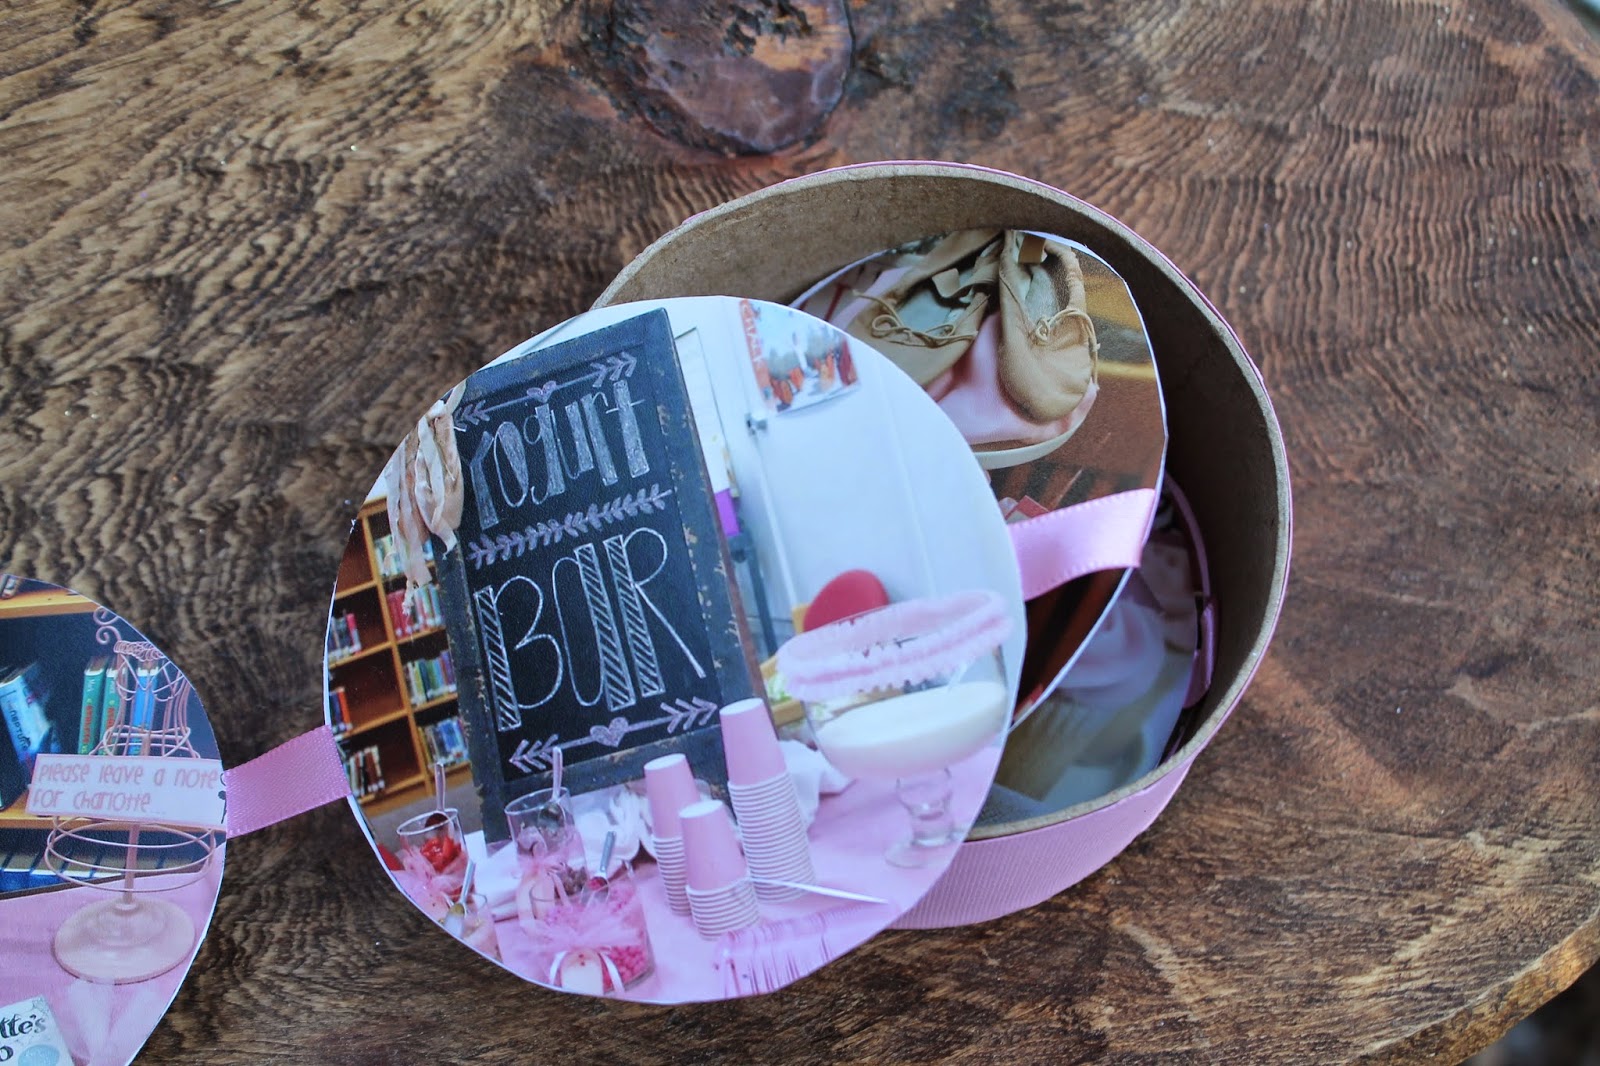
I helped throw a shower last fall for my friend, Amber.  I've noticed through the years, as digital photos take off, so few people actually PRINT any of those photos, so I try to print photos for my friends from the events I'm a part of so they have 'proof' of the event somewhere other than their mind.  I printed off these photos as soon as the shower was over with the intention of making a birthday gift for Amber a few months later.  I promptly misplaced the photos.  I spent the next 4 months looking for them.  I bought the supplies to make said album (ribbon and this little paper mache box from the craft store and some pink paper).  
I gave up on finding those photos.  I ordered some more.  When they arrived I couldn't find the supplies for the album I had bought....in my hunt....I found the original photos.  All of this to say.....I guess this is my cry for help....or my confession-chaos reigns!  Regardless....I FINALLY made that album BEFORE Amber's next birthday, or Charlotte graduated from college.  Go.  Me.
 I used the box lid to create a pattern and cut the photos down to size.
 I laid them out along some pink ribbon and used double sided tape to glue them down to the tape.  I flipped each one over and glued a second photo to the back (more bang for my buck).
 If you wanted a longer string you could glue a plain sheet of paper to the back to write about each photo.  You could also create a border.  I wanted to get as much of the photo in the 'circle' I had available as possible.
 I took some blank paper and glued the ribbon below the circle and then glued the sheet down.  I did this to the top of the box and the bottom so that the photos stay attached to the box.  Again...your choice.
 It folds down neatly into the box.
 I made a little cover for the album.  I left a few blank sheets of paper for Amber to add her own memories.
A little box full of big memories.  I love mini albums and boxes.  Win.  Win.  Now, I guess I can go make another one since I have double the photos!