Category: Mummy
Showing posts with label Mummy. Show all posts

Mummy Doll

Monday, August 29, 2016 No comments
 A few years ago I made some dolls I bought a pattern for via Etsy.  I recently used the same pattern, with none of the extra details to make some mummies for Halloween.
 I cut the pattern out of some old sheets and then stuff each piece and sewed it together.
 I added some eye balls and then wrapped the whole thing in cheese clothe.  I used some fabric glue to hold the cheese clothe in place.

Mummy: Mummy Greeting Card

Monday, September 23, 2013 No comments
 Here's another quick little Halloween card I put together for this year.  I figured out last year I spend a small fortune on cards.  I love sending cards, but it's sort of silly to pay 6 bucks a card when I have all the supplies to make my own.  So of course, I went and bought more supplies. 
I used one of the7,654 blank cards and cut up a bunch of pieces of white paper, inked the edges, glued them down at random angles, and added eye balls. 
Ta da, ancient mummies awaiting my littlest friends in the mailbox this year. 

Mummy: Soap

Friday, September 20, 2013 1 comment
 I've been planning these out for several years.  They are so simple, and a cute little addition to...well, life.  I saw the idea at howdoimakesoap two years ago.  I simplified the steps since I'm not a soap maker, but I think the outcome is close enough!
I packaged them up in these little fry boxes I got at Hobby Lobby.  Which means I had to go buy more fry boxes b/c I hear them.
 I used a gingerbread mold I bought at Hobby Lobby as well (though Wilton sells one as well, along with one called 'little people mold).  I also bought some soap squares.  You can add a scent, but I was an underachiever on this particular day.
 It took about two cubes per mold.  I also shaved some soap with my grater, and set it aside.
 I melted the squared soap, poured it into the mold, it dries quick, so before it dried I tossed on the shavings to make it look more like the wrap of a mummy.
 I took a toothpick and some black gel and just dabbed on some black eyes.
Pop them out and wrap them up.  Cute.

Mummy: Pretzels

Tuesday, September 17, 2013 1 comment
 I saw these hopping around the net last year, and so I had to whip a few up.  Super easy.  I melted some white chocolate in a ziplock bag (about a minute) and snipped off the tip and then just drizzled back and forth.  You just have to break them apart before the chocolate totally hardens.  I used white M&Ms I colored eye balls on using a ink writer, but you could also buy those little monster eyes they sell in the cake decorating section, or yellow M&Ms if you can't find the white ones. 

Halloween Transfer Shirts

Monday, October 08, 2012 1 comment
This Thursday I'm taking a collection of projects to GMT....this is half of the first segment.  I got a little carried away.  I'll be demoing how to make these little shirts, incredibly easy.  I've done this about fifteen thousand different ways.  I've sent out all my Halloween cards and gifts for this year, so now I'm working on NEXT year.  Above, the shirt for Micah's second Halloween....now I'm on the hunt for some cute leggings and an appropriate bow. 
I made this little Halloween bag for my buddy Donovan....
 He has a little brother on the way (coming to a nursery, not nearly close enough to me, February).  His name has yet to be revealed, so I thought I was super cleaver (don't burst my bubble) and I found a monster icon and and put Monster Mash....get it....baby food, mash, get it?  OK....I'm over it. 
 My pal, Laine, at school has a little baby girl who will be here by Friday whether she comes on her own, or with the help of the doctors.....she is definitely going to need some Halloween gear.  She also has a little black kitty waiting to meet her at home who has no idea his life is about to be turned upside down, but maybe he will be more forgiving if she wears a little tribute to him?
Seriously, I could go on and on, but I'll stop and review the steps to making these....and then I'm off to making turkeys and gingerbreads, and probably leprechauns and firecrackers. 
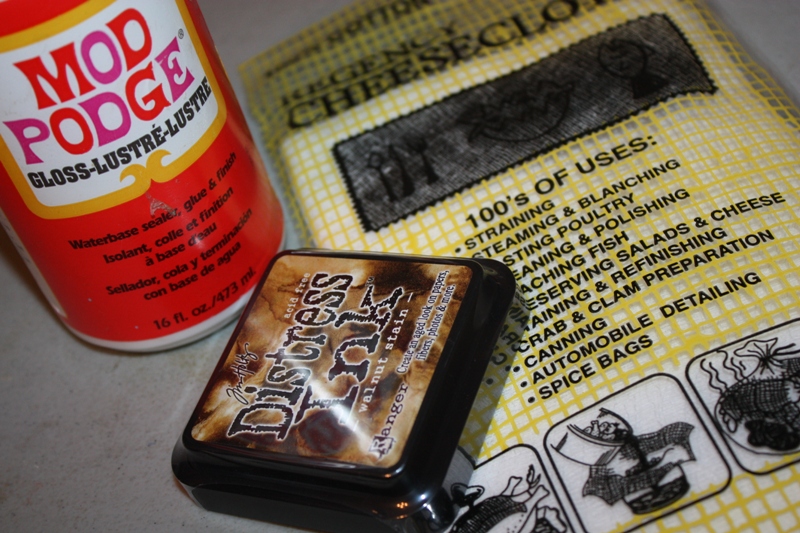
Step One:  You need to grab some transfer paper and a shirt/onsie/bib/bag/anything that will stay still works.  They sell this for transfering to white fabric (light) or dark fabric, so depending on what you are doing, depends on what you purchase. 

Step Two:  You can create your own design via the paint, or you can purchase them on sites like Etsy and have them personalized.  Here is the cat without a name.  You can download it, put it in a word document, right click and move it to the 'back' and then type the name in whatever font/size you want.  I then did 'print screen' or snag it to get the whole thing.  There may be an easier way, but this is my ghetto computer skills at work. 
Step Three:  Paste the whole thing in another word document.  Under picture tools one of the options is to rotate horizontal.  You need the name to be facing the opposit direction b/c you iron this down and you want the mirror image. 

Step Four:  Print it out (sometime of the ink jet transfer papers have a program you can use for free, if you just do step two and ssave your file as a pdf, you can copy them into the program and it will rotate the whole thing for you). 
Step Five:  Cut it out, I leave a little bit of the white, it won't show up on the shirt, but it helps as you peal it off if a little wants to come up, the color will stay. 
Step Six:  Press it down (put pressure, pick up the iron, and press in the next stop, don't 'rub' it like a normal iron so it doesn'ts lip around).  Let it cool, and lift carefully. 
These are machine washable on the gentle cycle after they 'set' for 72 hours.

Mummy Candle Holder

Tuesday, September 18, 2012 No comments
 Next up in the candle collection for this fall....mumm candle holder. 
I used mod podge, cheese cloth (which they sell in the homegoods section of most grocery stores), and some brown ink. 
 I cut the cloth into strips. 
 I added mod podge to the jar, and just start wrapping the cloth around.  The mod podge made it adhere to this jam jar. 
 To give it a little aged look, I pressed the brown ink pad onto the cloth covered jar. 
 I added various sized google eyes to 'peak' out.  I used hot glue, but glue dots would work too.  Light it up and let the watchful eyes of this batch of monsters glow. 

Mummy Bread

Saturday, October 23, 2010 2 comments

I've seen mummy pizzas all over magazines lately, and so I decided to make my own version.  I did not, unfortunately, decide to worry about the white balance of the finished product. 
I was going to buy hot dog buns so these were smaller sized, and everyone (of my imaginary friends) could have a mummy.  To experiment, I grabbed hoagie buns this go round, and string cheese. 
I cut the buns in half, sprayed them with spray butter, garlic salt, and then little strips of string cheese. 

I was able to cover 1 hoagie bun with one string cheese.  I added olive eyes.  I'll probably grab black olives next time around, just because, but I used what was already in my fridge.  I baked at 350 for about ten minutes, and it was a yummy treat.  Next up, finding friends to come eat my mummies.

Mummy Cookies

Wednesday, October 28, 2009 No comments

I've been obsessed with Gingerbread Men....I saw this awhile ago...somewhere. You take the gingerbread man, and decorate him like a Halloween Mummy. More gingerbread men, I think so. In the process of baking these I dropped a five pound glass jar of sugar on my toe....ouch. I think I'm done with Halloween crafts, and cooking for this year....but there are two days left...so....who knows.